How to install WordPress on CentOS 7 through Terminal?
Here is a simple guide on how to install WordPress on CentOS 7 without a control panel. You must have access to SSH on your server and with access to internet. If you have not configured your web server yet, please follow: How to setup a LAMP Server on CentOS 7 - Apache, MySQL, PHP? When you ascertain that everything is working our WordPress installation begins.

Step 1: Install Required PHP Modules
Each CMS (Content Management System) needs certain modules to be installed in your server for it to perform well. For instant, WordPress needs GD Libary in order to work with images, do installations and other things. Below are the needed PHP modules for WordPress, install by running the following command:
yum -y install php-gd php-ldap php-odbc php-pear php-xml php-xmlrpc php-mbstring php-soap curl curl-devel
Now we need to restart our Apache to load all the new changes. Run the following command to restart Apache:
systemctl restart httpd.service
Step 2: Download Installation Files
If you like you may want to enter into any other directory to save your files while doing this. However in this tutorial I will choose to remain in ~ (Server's Root Directory). Your server may not have wget required to download files from the internet directly into your server. Just to confirm run the following command:
yum -y wget
After this you have either been notified you already have wget or it was installed successfully. Let us now go ahead and install WordPress. Although you can always find latest version of WordPress from several internet websites I recommend you to use the WordPress Repository. Run the following command to download the latest version of WordPress from the WordPress Repository:
wget http://wordpress.org/latest.zip
Now you must have a file named latest.zip in your server. Run the following command to confirm this:
ls
Good job! You have it. In order to use this file we must extract files first into our installation directory. To make things less complicated, I will extract them into the same folder first then I move them to the installation folder manually. Run the following command to extract files:
unzip latest.zip
Now you must have a folder named wordpress in your current location. Let us move it to our installation folder. Normally your public directory will be in /var/www/html. You may need to put files into your customized directory if any - this is important, your virtual host directory is where files must be placed out of wordpress folder. Run the following command to move wordpress into /var/www/html:
mv wordpress /var/www/html
WordPress site uses a database. We must now create a database to be used by our website. Run the following command to create a database and the user:
mysql -u root
You will see now that you are logged in to your MySQL server after entering your root password. Run the following command and specify values according to your taste:
CREATE DATABASE wp_database;GRANT ALL PRIVILEGES on wp_database.* to 'wp_user'@'localhost identified by 'wp_password';FLUSH PRIVILEGES;
So far you have created a user and a database managed by that user. You can now logout of MySQL Server. Run the following command and return to your WordPress installation:
exit
systemctl restart mysqld.service
So far you have downloaded WordPress and moved it to your installation folder. You have also created the database and the database user. Let us move to the last step.
Step 3: Configuring WordPress
Let us start by granting permissions to the apache server. The following commands run after another will change file ownership and give correct permission to your WordPress files in /var/www/html/site:
chown -R apache:apache /var/www/html
chmod -R 755 /var/www/html
Just in case you see any missing folders in your files, below instructions will create your missing folder. This example will create the uploads folder only if it is not present:
mkdir /var/www/html/site/wp-content/uploads
You must always make sure it is owned by the right user. Run the following command to change ownership from root to apache or any user that is running your web server:
chown -R :apache /var/www/html/wp-content/uploads
WordPress depends on a file named wp-config.php. We must create this file from the sample file that we already have. Make sure you are in the right folder now. Use cd to change your location like this:
cd /var/www/html
Run the following command to rename the sample file into wp-config.php:
mv wp-config-sample.php wp-config.php
Now we are ready to put our database credentials into this file. I will use Nano text Editor in this tutorial. This command will open the edit window to make the changes:
nano wp-config.php
Change these values accordingly:
/** The name of the database for WordPress */define('DB_NAME', 'wp_database');/** MySQL database username */define('DB_USER', 'wp_user');/** MySQL database password *define('DB_PASSWORD', 'wp_password');
Good job! You have configured everything for your WordPress installation on CentOS 7.
MORE ARTICLES
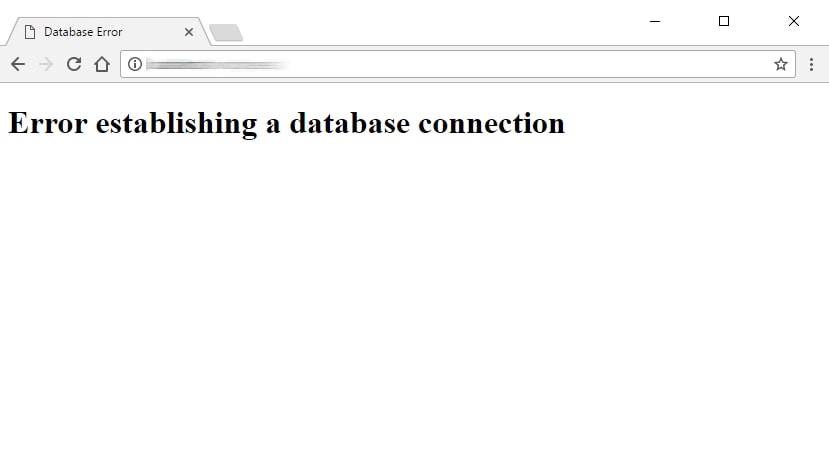
How to fix Error Establishing a Database Connection on WordPress?
This tutorial will help you if your WordPress website suddenly began to show "Error Establishing...
READ FULL ARTICLEHow to setup a LAMP Server on CentOS 7 - Apache, MySQL, PHP?
In this tutorial I assume you already have either a VPS or a Dedicated Server...
READ FULL ARTICLE
